Planning a Local Sports Venue Seating Layout: A Beginner's Checklist
A Saturday afternoon at a small ground tells you a lot about its seating. If people are bunched at the back of the terrace because the front rows sit too low, or shuffling sideways every time someone needs the toilet, the layout is quietly working against the club. Designing a seating layout for a local venue is not complicated, but it is a sequence of decisions that need to be made in the right order — and a few of them are very expensive to change once concrete is poured.
Start with the ground, not the seats
Before anyone sketches a stand, walk the site with a notebook and a tape measure. The physical constraints will do more to shape the layout than any preference about seat colour or row count.
Measure the available depth from the pitch barrier to the site boundary, and the width along the touchline or behind the goal. Note the slope — a fall of even half a metre across twenty metres changes how you build the base. Check where water sits in February, where the prevailing wind hits, and which side the sun is on at three o'clock in winter. A stand that faces the low sun will have spectators squinting for half the season, and no amount of good seating fixes that.
Also record what already exists: drainage runs, floodlight bases, the electricity supply, boundary walls, mature trees with protection orders, and the neighbour whose bedroom window is nine metres from your proposed back row. Photograph everything and peg out a rough grid on the ground. It is much easier to move string than steel.
Work out how many seats you actually need
Capacity planning at local level is really a question about two different crowds. There is the crowd you get most weeks, and the crowd you get twice a season. Design for the first, allow for the second.
Count your average attendance across a full season, then look at your peak — a cup tie, a derby, a promotion decider. Sizing every seat for the peak usually means building something that feels half-empty and costs more to maintain than it earns. A common approach is to seat the regular attendance comfortably and use standing terracing, a temporary stand or an overflow area for the big days, provided the site and your approvals allow it.
Two practical points often get missed. First, spectators take up more room than the seat itself: allow for circulation, gangways and the fact that people spread out rather than sitting shoulder to shoulder. Second, every seat carries a maintenance cost for the next twenty years — cleaning, repairs, replacement parts, inspection. A smaller stand in good condition serves a club better than a larger one that is quietly falling apart.
Sightlines: the part almost everyone underestimates
This is where cheap layouts fail. A stand can look perfectly tidy from the car park and still give the third row a view of the back of someone's head.
Viewing distance
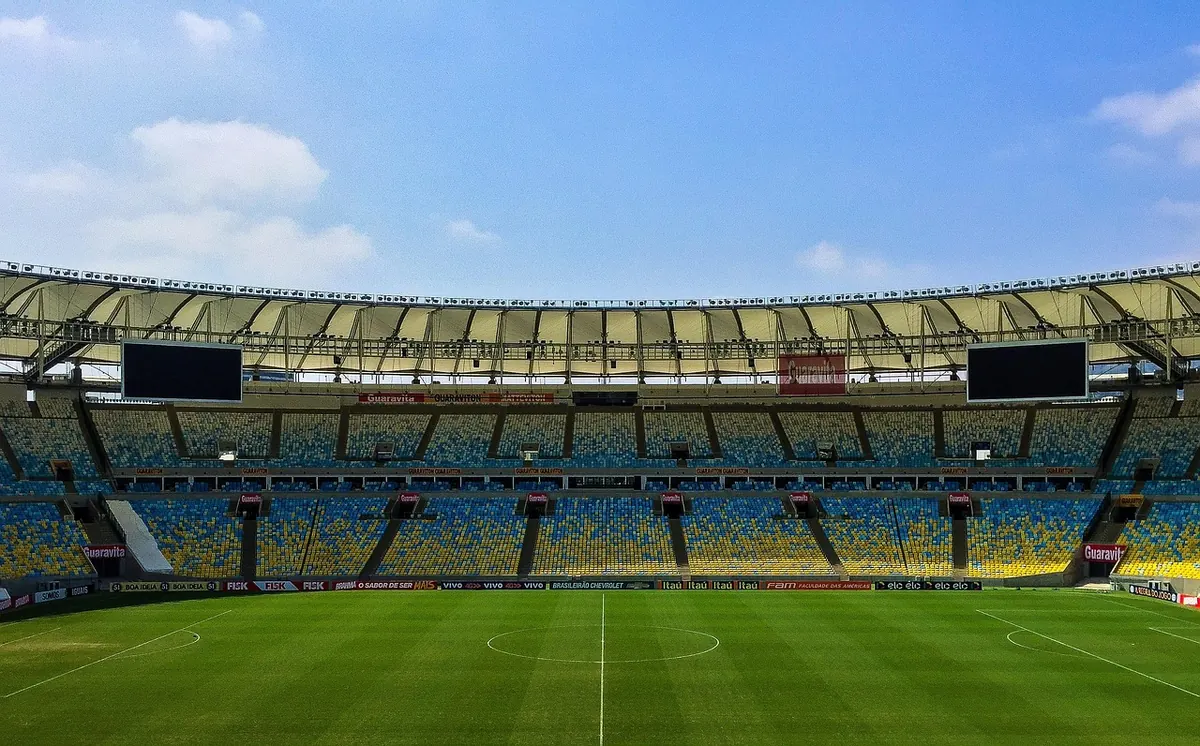
Spectators need to be close enough to follow the ball and recognise who has it. As a rough guide, the furthest seat should stay within about 70 to 90 metres of the far side of the playing area; beyond that, detail starts to disappear and the game becomes a rumour of movement. If your site is long and narrow, favour stands along the touchline over deep ones behind the goal.
Riser height and the C-value
The vertical step between one row and the next is called the riser, and the key measurement is the "C-value" — the clear height of view over the head of the person in front. Codes vary by country and by venue type, and you should always check the figures your local authority applies. As general guidance, many standards treat around 60 mm as a working minimum and something nearer 90 mm as genuinely comfortable. Getting this right at the design stage costs nothing extra. Fixing it later usually means rebuilding the rake.
Row depth and legroom
Row depth determines whether people can pass without a chain reaction of stood-up spectators. Deeper rows cost more per seat but pay you back every matchday. Think about who uses the stand: a row that is tolerable for a fit adult is miserable for a grandparent with a bad knee, and worse for anyone with a pushchair or a flag.
Choose the seat, then buy the spares
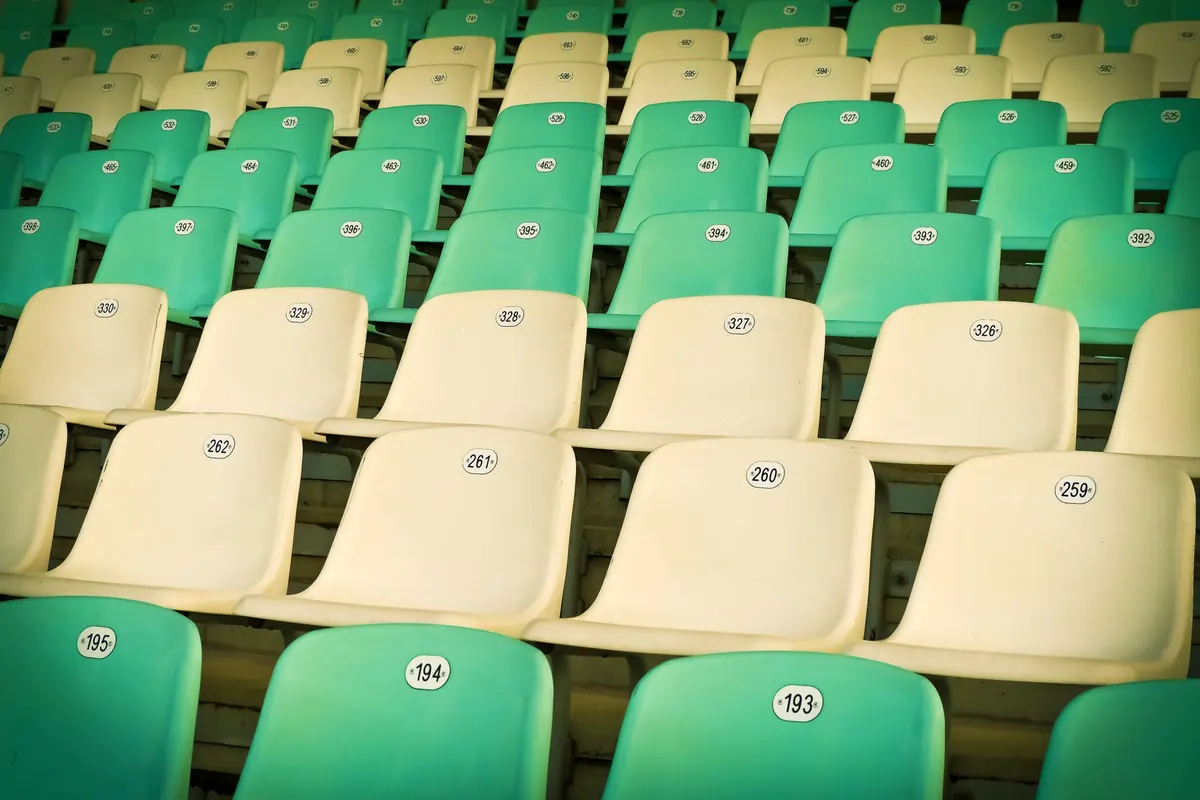
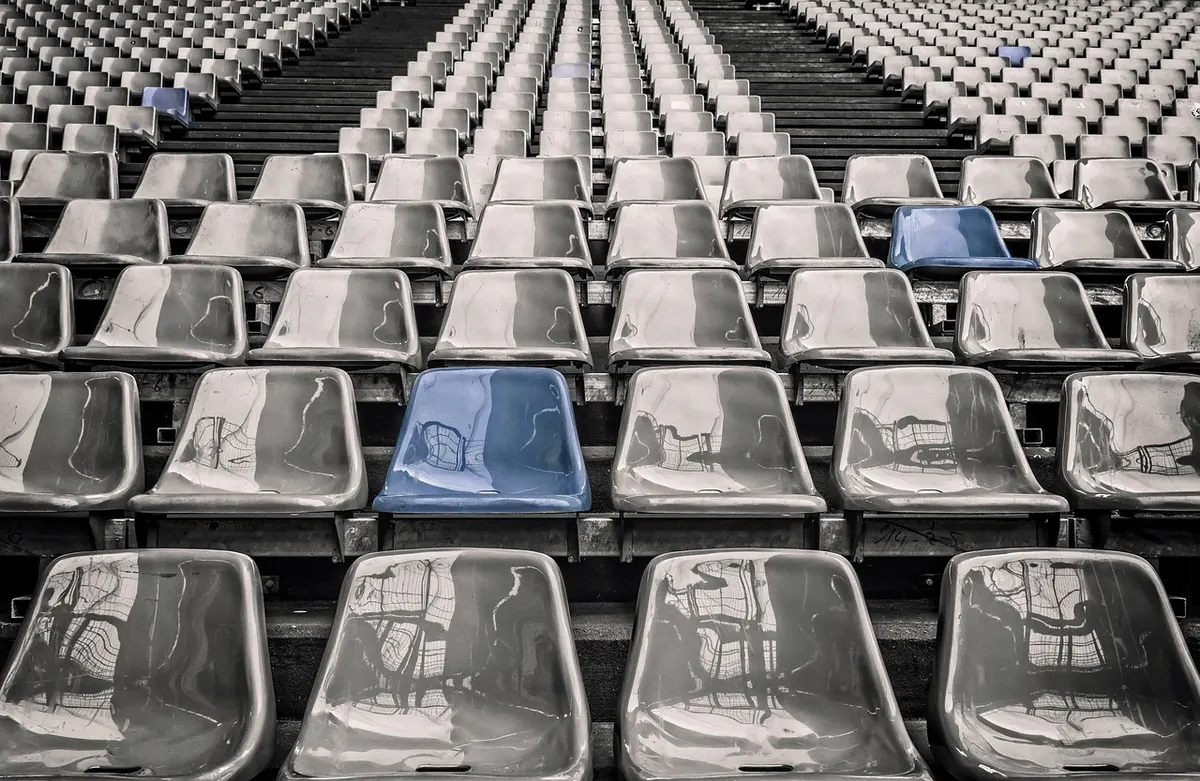
For small venues the realistic options are usually a moulded plastic seat, a folding tip-up seat, or a simple bench with a backrest. Each has a place: tip-up seats keep gangways clear, fixed moulded seats are simpler and cheaper to keep clean, benches suit uncovered family areas.
Whatever you pick, check three things before ordering. Are the seats UV-stable enough for an uncovered stand? Can you buy individual replacement seats and fixings in the same colour three years from now? And do the fixing centres match the beam spacing you have planned? Clubs that skip the third question end up drilling new holes in perfectly good steelwork. Order a small stock of spares at the same time as the main delivery.
Plan how people arrive, move and leave
Spectator flow is the invisible part of the layout, and it decides whether a matchday feels calm or chaotic. Walk through the whole journey in order and check each stage:
- Approach and turnstiles. Can a crowd arrive from the car park or the road without mixing with players, officials or deliveries?
- Entry to the stand. Are there enough entry points, and do they line up with the vomitories or aisles rather than dumping people at the end of a row?
- Circulation inside. Nobody should have to squeeze past more than a handful of seated fans to reach a seat. Keep aisles and cross-aisles clear and wide enough for two people to pass.
- Toilets and concessions. Put them where people are, not in the far corner. Queues that form in a gangway become a safety issue, not just an irritation.
- Half-time movement. Remember that most of the crowd moves at once. Watch where the natural bottlenecks are.
- Egress. Leaving must be faster and simpler than arriving. Every exit route should be obvious to someone who has never been to the ground before.
Test it with real people before you commit. A roll of tape on a flat training pitch, a few dozen volunteers and a stopwatch will reveal more about your layout than a drawing ever will.
Accessibility, safety and the paperwork
Accessible provision belongs in the first sketch, not the last revision. That means wheelchair user spaces with companion seats and a genuine view of the action, level or ramped routes to them, and step-free access to toilets and refreshments. It also means thinking about ambulant spectators who can manage a few steps but not a full flight — handrails on every aisle and a choice of access routes make a difference.
Safety considerations run alongside: emergency escape routes and their widths, fire resistance of any structure, first aid access, and protection from balls leaving the field of play. Requirements vary considerably between countries and even between neighbouring municipalities, so confirm the applicable standards, structural calculations and approvals with a qualified engineer, architect and your local authority before construction. It is the least glamorous part of the project and the one that protects the club.
A sensible order of operations
Work in this sequence and most of the difficult decisions take care of themselves: measure and map the site; set a realistic capacity target; sketch sightlines and the rake; lay out aisles, entries and exits; add accessible spaces and safety routes; then choose seats and materials last. Put the whole thing on paper at 1:100 and walk through it with a committee member, a steward and someone who uses a wheelchair.
Build a small section well before you build a large one badly. A local ground earns its reputation on how it feels to spend ninety minutes there, and most of that feeling is decided long before anyone sits down.
Photo: Tama66 / Pixabay

You Might Also Like
Stadium seating safety is decided in the geometry — continuous handrails, honest aisle widths and evacuation routes that work long before the seats are chosen.
Sensors and connected ticketing turn stadium seats into sources of useful information about usage, queues and crowd movement — if the basics are right.